“Once in a while, right in the middle of an ordinary life, love gives us a fairytale"
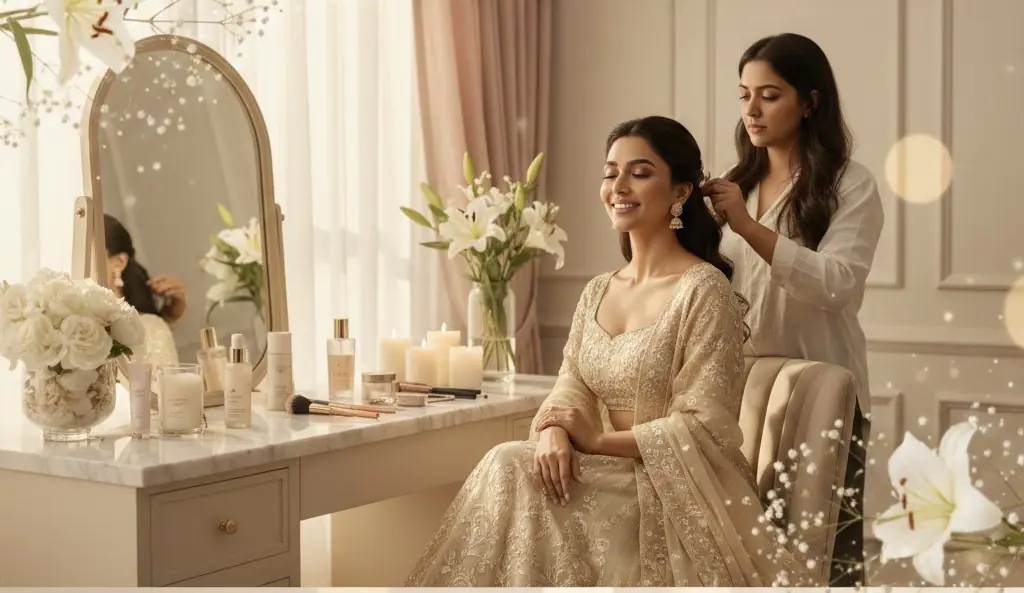
And all our brides want to look like a fairy on her Wedding Day. Your bridal avatar is a new reflection of your expressions that reflects a new and more beautiful you.
From your sandals, jewelry, fragrance, dupatta, hair to makeup - all tell a story that it's not a regular day, not a simple you. You are above all - the most beautiful, dazzling, radiant, glamorous, and elegant bride.
A bride-to-be never leaves a stone untouched and looks after every detail about her look from dress to makeup and the "Beautiful bridal makeup defines a beautiful bride". Most of our brides feel stressed about their wedding makeup - so to overcome the stress lines from your face - here is the step-by-step guide a bride-to-be wants to see before she gets married.
Step 1:
Cleanse your face
Nowadays, a bride can't sit at home for long and care for her skin against sun damage and pollution. Keeping your face clean and clear is foremost for a flawless makeup application. Try to wash your face twice with a mild face wash that suits your skin type. Do not put the face wash on your face directly, take a small sump on your palm, dilute it by rubbing with water till you have a thick foam, and rub it softly on your face for five minutes. Wash it off with cold water. Pat dry your face with a clean cotton towel.
Step 2:
Apply Moisturizer & Primer
Moisturizing your skin is important after washing your face. Moisturizer helps close the open pores and gives a smooth texture for makeup. It prevents your skin from drying after face wash. Take moisturizer on your fingertip and apply it on your face, rub slowly all over your face till it gets absorbed in your skin.
After moisturizer applies a primer, take a few drops of primer and put it on your face focusing on the area like under the eye, c zone, t zone, jawline, and chin. Using your fingers spread them evenly on your face. You can use your fingertips or a makeup sponge to apply primer.
Step 3:
Conceal Your Marks
Apply concealer in an upside-down direction and blend it well until it merges well with your skin tone. Buy concealer that is a shade lighter than your natural skin tone. It helps your skin to hide all the marks, uneven skin tone, blemishes and gives a flawless and even-toned base for makeup application.
Note: Due to a mismatch of the shade your concealer could pop out differently, and a shade lighter or darker can stop your makeup from looking flawless & uniform. So, confirm the shade before buying it.
Step 4:
Cover with Foundation
Apply foundation uniformly on your face with the help of a makeup sponge. Getting a correct shade of foundation is tough - check the shade twice or thrice by applying it on your neck or chest. If you are using a liquid foundation, take it out in drops because for foundation - less is always more.
Spread it uniformly by patting it on your face lightly. Don't forget to apply foundation on your neck area and collar bones, back of your neck. Confirm your undertone because the shade of your foundation needs to be blending your skin.
Warm Undertone: If your skin is whitish with a shade of yellow or gold- it falls in a warm undertone.
Cold Undertone: The pink and red glow on your face keeps it under a cool undertone.
Neutral: If your t-zone or c-zone is a mix of warm undertone & cold undertone that means it is neutral.
Step 5:
Pat with Face Powder
Buy face powder from different types of face powder -
- Loose Powder
- Pressed Powder
- Sheer Type vs Matte Type
- Dewy
- Matte
It helps to lock your concealer & foundation and set your face for makeup application. Apply it with the help of a blush or brush.
Step 6:
Eyebrow
Take a perfect shade - brown, black, or grey to define your eyebrow. Start by taking the small strokes from up to the down direction. Try to give a perfect shade to your eyebrows that help to give a perfect shape to your face and keeps your entire makeup altogether.
10 Eyebrows Shapes That Flatter All Face Types
- Arched Toward the Tail
- Arched in the Middle
- High Arches
- Barely-There Arches
- Rounded
- Straight
- Tapered
- S-Shaped
Step 7:
Eyeshades
Next comes your eye shadow - take an eye shadow with the matching of your outfit and start blending from the corner of your eye to the far-reaching spot of your brow. Apply a highlighter on your eyebrow bone and a white outline in the inner corners of your eye.
There are types of eye shadows available in the market:
- Powder Eye shadow
- Cream Eyeshadow
- Loose Glitter Eyeshadow
- Liquid Eyeshadow
Step 8:
Contouring & Highlighting
Now is the step for sculpting and giving dimension to your face. Contour your cheekbones, chin, nose, and forehead with a darker shade than foundation and blend it with the help of the brush or makeup sponge.
Highlight the areas of your face with the help of the highlighter brush. Apply it in light strokes on your cheekbones, nose outline, nose tip, t-zone, and the tip of your chin.
Step 9:
Glow your Cheek Bones
Select a blush to stand out your cheekbones. It helps to give a healthy and glow to your face. Nowadays, several blush shades options are available in different brands ranging from
- Warm Blushes: Coral, Peach, Tangerine, Brown
- Cool Blushes: Fuchsia, Pink, Raisin, Berry
- Neutral Blush: Mauve
Apply it with the help of the blush brush in the upward direction. This application also helps your face look fresh with a naturally beautiful glow.
Step 10:
Complete Your Eyes
Now, it's time to complete your eyes with eyeliner, mascara, and kajal. Apply a thin layer of eyeliner at the outer line of your eyes from the inside to the outside area.
Apply it in the settled shade like brown, black, dark blue. There are various forms of eyeliners available like gel base, liquid, and pencil.
Mascara helps to add volume to your eyelashes and false eyelashes are the new trend in bridal eye makeup.
Step 11:
Lip Color
Don't forget to moisturize and prime your lips before applying the lipstick as per the outfit and complete makeup look. One can choose from a Russian red shade to a Nude Pink lip color that can go great with your makeup.
Shape your lips with a lip liner and then fill in with the lipstick, apply gloss over it or you can leave it like that for a matt look. There are forms of lipsticks available like
- Sheer Lipstick - A sheer lipstick is a good choice for dry lips.
- Satin Lipstick. Sheer and satin lipsticks
- Cream Lipstick - gives a creamy thick look
- Gloss Lipstick - helps get a glowy look
- Lipstick Stains - looks smooth and glossy
- Matte Lipsticks - for non-glossy settled lips
Step 12:
Fix it
Too important to fix your makeup with makeup fix spray that helps your makeup stay longer and waterproof.
As a bride or bridesmaid, you go through lots of emotional moments - so it is good to use waterproof products for your overall makeup look.
Conclusion: Now you can attempt a makeup application in the comfort of your home or still you are not sure about it - you can book your makeup slot with Glamcode Premium Home Salon to have a bridal, party, or engagementmakeup in the comfort of your home. Surely! You are going to love it and flaunt the best look ever.